Upload and Authorisation rights
If you have the rights Upload and Authorisation as a User, My backlog will show all invoices with the status Authorisation.
Step 1
Click on Authorise in the Dashboard menu or choose Backlog in the blue menu bar at the top and click on the status Authorise for an invoice.
Step 2
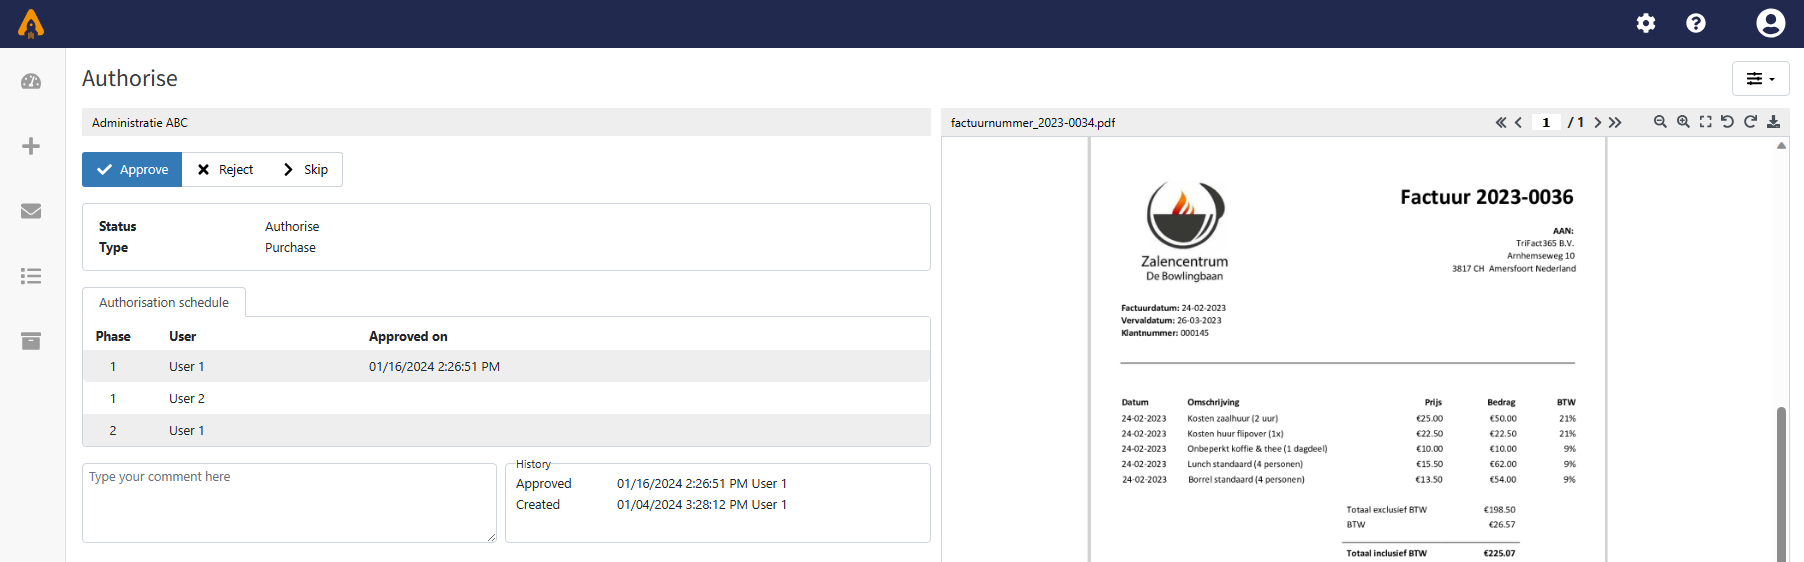
On the right-hand side, the invoice is shown. On the left-hand side, you can select one of the follow-up actions:
- Note: place a note in the white box and click on Send when a note is required.
- Authorise: when an invoice is authorised, it will get the status Check.
- Reject: if an invoice is rejected the invoice receives the status Rejected.
- Skip: an invoice can be Skipped. The invoice will still have the status Authorise in the Backlog and can be authorised at a later stage.